Sample bell schedules for traditional, A/B block, 4x4 block and rotating days, with pros and cons and a step-by-step guide to building your own.
A bell schedule is the daily timing plan for a school: when each period starts and ends, how long students have to pass between classes, and when lunch, advisory and dismissal happen. It is the time frame every class, teacher and room is scheduled into, so choosing the right one shapes the whole school day.
In US K–12 schools, the bell schedule is also where the big structural decision gets made: stay with a traditional six- or seven-period day, or move to block scheduling — an A/B block, a 4x4 block, or a rotating “drop” schedule. This guide walks through sample bell schedules for each model with realistic times, compares their pros and cons, and shows you how to build your own bell schedule step by step.
Bell schedule vs. block schedule: the short answer
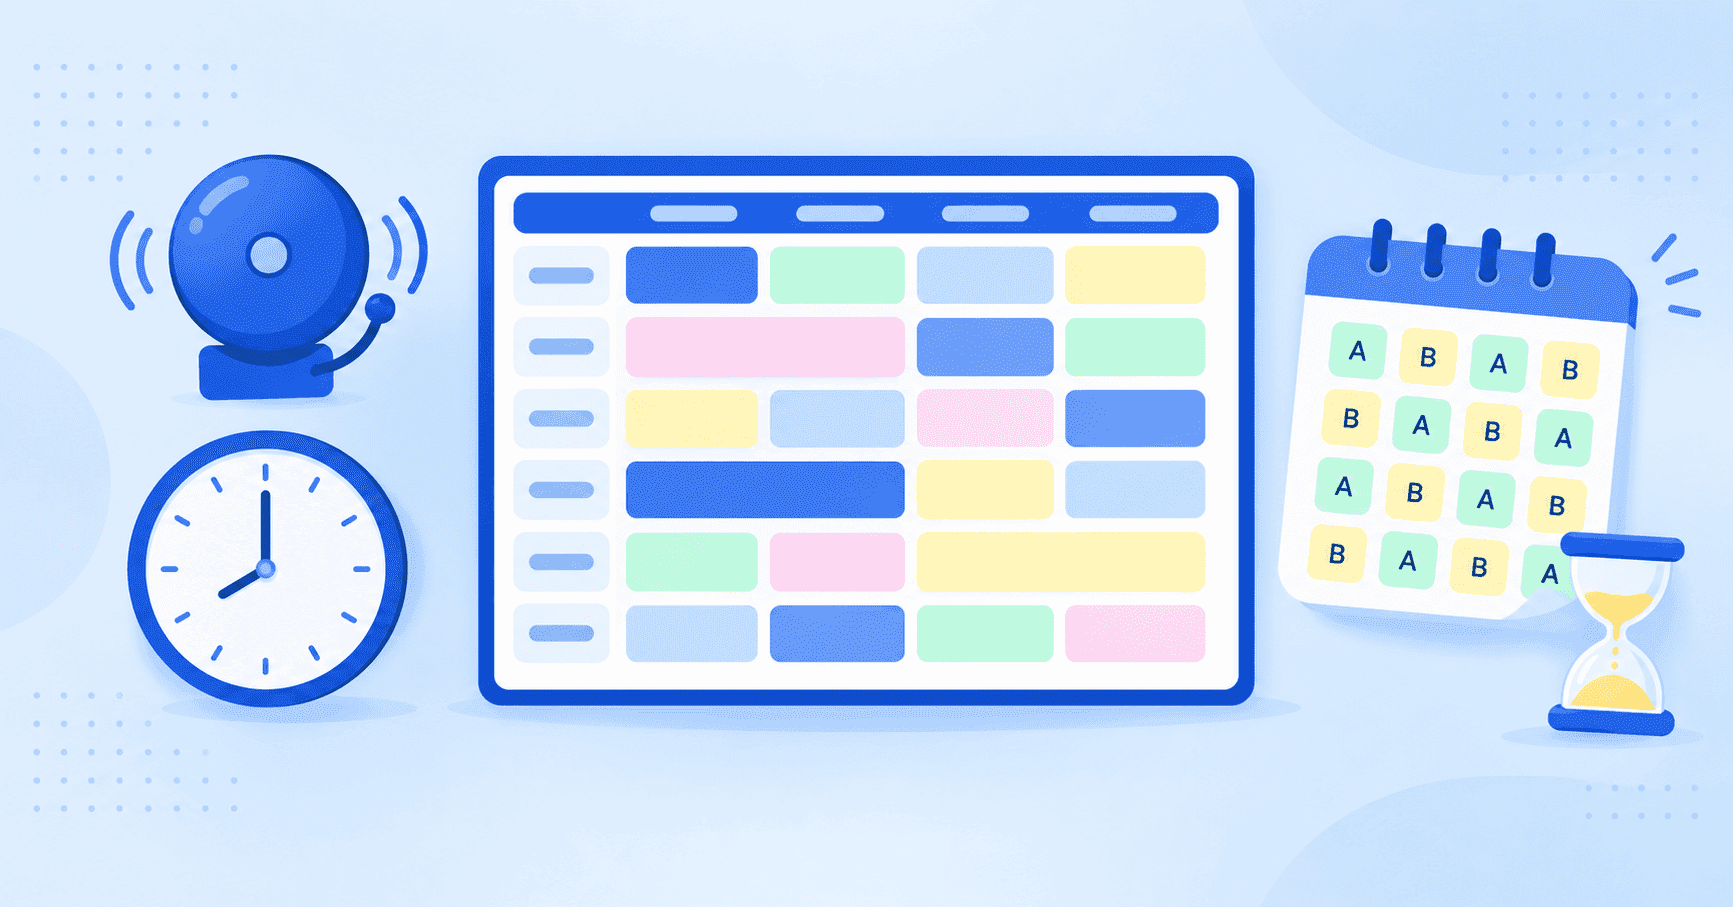
A bell schedule sets the start and end time of every period, passing time and lunch. A block schedule is one type of bell schedule that uses fewer, longer periods (usually 80–95 minutes) instead of six to eight short ones. Common block formats are the A/B block (alternating days), the 4x4 block (four courses per semester) and rotating schedules.
What is a school bell schedule?
A school bell schedule lists every segment of the day in order, with clock times: arrival or homeroom, each class period, the passing periods between them, lunch (often in several waves), advisory or intervention time, and dismissal. Many schools publish more than one: a regular day, an early-release day, an assembly day and an exam day.
Three numbers drive every bell schedule: total instructional minutes, the number of periods each student takes, and the length of each period. Change one and the others move. Before you design anything, check your state’s required instructional minutes (or hours) per day and per year, along with any district or contract rules on teacher planning time and lunch length. Those rules vary by state and district, so treat your state education agency and district policy as the source of truth.
Sample bell schedules: four common models
The examples below use realistic times with five-minute passing periods and a 30-minute lunch. Adjust them to your own start time, bus schedule and minute requirements. For ready-made grids you can copy, see our school timetable templates and sample school timetables.
1. Traditional 7-period bell schedule
Every student attends all seven classes every day, each about 50 minutes long. This is the most familiar model in US middle and high schools.
| Segment | Time | Minutes |
|---|---|---|
| Homeroom | 7:50 – 8:00 | 10 |
| Period 1 | 8:00 – 8:50 | 50 |
| Period 2 | 8:55 – 9:45 | 50 |
| Period 3 | 9:50 – 10:40 | 50 |
| Period 4 | 10:45 – 11:35 | 50 |
| Lunch | 11:40 – 12:10 | 30 |
| Period 5 | 12:15 – 1:05 | 50 |
| Period 6 | 1:10 – 2:00 | 50 |
| Period 7 | 2:05 – 2:55 | 50 |
| Dismissal | 2:55 | — |
Class time here is 350 minutes a day, plus homeroom. Notice how much of the day goes to transitions: seven classes mean six or more passing periods.
2. A/B block schedule
Students take eight courses for the full year but attend only four each day, alternating “A days” and “B days.” Each block runs about 85 minutes. This version adds a daily advisory period.
| Time | A day | B day |
|---|---|---|
| 8:00 – 9:25 | Block 1 (English 10) | Block 5 (Spanish II) |
| 9:30 – 10:00 | Advisory / intervention (every day) | |
| 10:05 – 11:30 | Block 2 (Geometry) | Block 6 (World History) |
| 11:35 – 12:05 | Lunch | |
| 12:10 – 1:35 | Block 3 (Chemistry) | Block 7 (Art) |
| 1:40 – 3:05 | Block 4 (PE / Health) | Block 8 (Elective) |
Each course meets roughly every other day, so over two days a student gets about the same class time as a 50-minute daily period, in fewer, longer sittings.
3. 4x4 block schedule
Students take four 90-minute courses every day for one semester, then four new courses in the second semester. A full-year course is compressed into one semester.
| Time | Fall semester | Spring semester |
|---|---|---|
| 8:00 – 9:30 | Block 1: Algebra II | Block 1: US History |
| 9:35 – 11:05 | Block 2: English 11 | Block 2: Physics |
| 11:10 – 11:40 | Lunch | |
| 11:45 – 1:15 | Block 3: Biology | Block 3: Economics |
| 1:20 – 2:50 | Block 4: Band | Block 4: Computer Science |
That is 360 minutes of class time a day with only three passing periods. Teachers typically teach three blocks and plan in the fourth.
4. Rotating (drop) schedule
In a rotating schedule, the order of classes shifts each day so no course is always first period or always last. In a drop schedule, students take more courses than there are daily slots, so one course “drops” each day. Below, seven courses (A–G) share six 55-minute slots over a seven-day cycle; the first four days are shown.
| Time | Day 1 | Day 2 | Day 3 | Day 4 |
|---|---|---|---|---|
| 8:00 – 8:55 | A | B | C | D |
| 9:00 – 9:55 | B | C | D | E |
| 10:00 – 10:55 | C | D | E | F |
| 11:00 – 11:30 | Lunch | |||
| 11:35 – 12:30 | D | E | F | G |
| 12:35 – 1:30 | E | F | G | A |
| 1:35 – 2:30 | F | G | A | B |
| Dropped | G | A | B | C |
The pattern continues through Day 7, then the cycle repeats. Because the cycle is seven days long and the week is five, “Day 3” can fall on any weekday, so the school calendar must label each date with its cycle day.
Traditional vs. block schedule: pros and cons
There is no universally best model. Each one trades off continuity, depth and simplicity differently:
| Model | Pros | Cons | Often a fit for |
|---|---|---|---|
| Traditional (6–8 periods) | Daily contact with every subject; simple for families to follow; easy to build | Short periods limit labs and projects; many transitions; heavier daily homework load across subjects | Elementary and middle schools; schools wanting predictability |
| A/B block | Longer periods for labs and discussion; full-year courses kept; fewer transitions | A gap of a day (or a weekend) between lessons; students and staff must track A vs. B days | High schools wanting depth without semester compression |
| 4x4 block | Only four courses at a time; more credits possible per year; students can retake a failed course next semester | Long gaps between sequential courses (e.g. Spanish I in fall, Spanish II next year’s spring); year-end exams may fall long after a fall course ends | High schools prioritizing credit flexibility |
| Rotating / drop | No class is always at the “bad” time of day; fits more courses than daily slots | Hardest to explain and to follow; needs a cycle-day calendar; more complex to schedule | Schools with many electives and staff comfortable with complexity |
How to choose the right bell schedule model
Start from your goals, not from what the district next door does. Ask these questions with your leadership team:
- What should a class period accomplish? If labs, writing workshops and project work matter most, longer blocks help. If daily practice matters most (for example, in early math or world languages), daily contact helps.
- How many courses must students take? Graduation and elective requirements decide whether you need six, seven or eight course slots.
- What do teacher contracts require? Planning periods, maximum teaching minutes and duty-free lunch all constrain the model.
- What is fixed from outside? Bus runs, shared staff between buildings, and dual-enrollment or career-center programs often lock start times and block boundaries.
- Can your community follow it? A schedule that parents, substitutes and new students can’t read causes daily friction.
What we’ve learned
In our onboarding calls, the schools that struggle with the timetable are rarely the ones with a “wrong” model. They are the ones that changed the bell schedule halfway through building the timetable. Pick the model, write down the times, get sign-off, and only then start placing classes.
How to make a bell schedule, step by step
Whichever model you choose, the build follows the same sequence.
Write down the first bell and dismissal time (usually set by transportation), then check your state’s required instructional minutes and how your state counts them — for example, whether passing time, lunch or advisory count. The gap between the school day and the required minutes is your working budget.
Divide the available minutes by the number of daily periods your model needs. A quick check: (periods × period length) + (passing periods × passing time) + lunch + advisory must equal the length of the day.
Walk the building. Four to six minutes is common, but a large campus, portables or a two-building site may need more. Too little passing time turns every bell into a tardy problem.
If the cafeteria can’t seat everyone at once, split one period into waves. For example, a 115-minute “lunch block” might give A-lunch students lunch first then class, B-lunch students class with a break in the middle, and C-lunch students class first then lunch. Assign waves by grade, hallway or department so teachers know which wave each section takes.
Decide whether it runs daily or a few times a week, and where. Mid-morning slots tend to get better attendance than end-of-day ones, and a fixed spot is easier for students than one that moves.
Create early-release, late-start, assembly and testing-day versions now, from the same periods but shortened. Check that every period is still long enough to be useful and that the minute totals still work.
Add up instructional minutes per day and per year using your school calendar (our academic calendar guide helps here), confirm them against your state requirement, and get approval before anyone starts the timetable.
How the bell schedule relates to the master schedule
The bell schedule answers when: the time slots. The master schedule answers who, what and where: which teacher teaches which section in which slot. You cannot build the master schedule until the bell schedule is settled, because every section needs a slot to land in.
The model also changes the master schedule’s shape. A traditional day has seven slots per day; an A/B block has eight slots spread over two days; a 4x4 has four slots per semester, so you effectively build two master schedules. That is why we recommend locking the bell schedule first, then following a process like our guide on how to make a school timetable. If you are comparing tools for that stage, see our page on master schedule software.
Common bell schedule mistakes to avoid
1. Not checking how your state counts instructional minutes
Assuming passing time or lunch counts toward the total, when your state says it doesn’t, can leave the whole year short. Confirm the rule before you finalize times.
2. Forgetting the variant days
An early-release schedule invented the night before often cuts one period far more than the others. Design all variants together.
3. Lunch waves that don’t match the timetable
If a teacher has sections in two different lunch waves, they may lose their own lunch. Map waves to teachers and sections, not just to students.
4. Changing the bell schedule after the timetable is built
Moving or adding a period means re-checking every teacher’s day. It is one of the costliest timetable mistakes we see.
5. Switching models without a transition plan
Moving from traditional to block means teachers redesign lessons for longer periods. Build in planning time and professional learning before the first day.
Turning your bell schedule into a timetable with Academic Scheduler
Once your bell schedule is approved, Academic Scheduler lets you set up your periods, with their start and end times, for each working day, so the grid matches your bell schedule. If your A days and B days use different period times, you set the periods for each day to match. You then build the class and section timetable on top of those periods, and teacher clashes are blocked as you go (see how timetable conflict detection works).
To be clear about scope: Academic Scheduler is class- and section-based. It does not build schedules from individual student course requests, and it does not manage rooms.
The takeaway
A bell schedule is the time frame for everything else in your school day. Traditional, A/B block, 4x4 block and rotating schedules each make different trade-offs between daily contact, depth and simplicity, and the right one depends on your goals, contracts and community.
Whatever you choose, build it in order: confirm your state’s required instructional minutes, set periods and passing time, plan lunch waves and advisory, design the variant days, and lock it before you start the master schedule.
Frequently Asked Questions
What is a bell schedule in school?
A bell schedule is the daily timing plan for a school. It lists when each class period starts and ends, the passing time between periods, lunch, advisory or homeroom, and dismissal. Many schools publish several versions, such as regular, early-release and testing days.
What is block scheduling?
Block scheduling is a bell schedule model that uses fewer, longer class periods, usually 80 to 95 minutes, instead of six to eight shorter ones. The most common versions are the A/B block, where courses alternate days, and the 4x4 block, where students take four courses per semester.
What is the difference between an A/B block and a 4x4 block schedule?
In an A/B block, students take about eight full-year courses and attend four of them on alternating days. In a 4x4 block, students take four courses every day for one semester, then four different courses the next semester, so a year-long course is completed in one semester.
Is block scheduling better than a traditional schedule?
Neither is better for every school. Block scheduling gives longer periods for labs, projects and discussion with fewer transitions. A traditional schedule gives daily contact with every subject and is simpler to follow. Choose based on your instructional goals, course requirements and teacher contracts.
How many minutes should a passing period be?
Many schools use four to six minutes, but the right length depends on your building. Time the longest realistic walk between classrooms, including stairs and separate buildings, and set passing time so students can make it without rushing.
How do you calculate instructional minutes for a bell schedule?
Add up the minutes of every period that counts as instruction under your state’s rules, then multiply by the number of instructional days in your calendar. Check your state’s required instructional minutes and whether it counts passing time, lunch or advisory before finalizing.
Build your timetable on top of your bell schedule
Set your periods and times for each working day, add classes, subjects and teachers, and build a clash-free class timetable.
Start Your Free Trial →No credit card required · Works for schools of any size